Exposed! The Ultimate Expert Guide on How to Create a Website
So, you’re ready to create a website! Maybe it’s for your business, a blog to share your ideas, an online store, or simply a place to showcase your work. Whatever the purpose, you don’t need to be a tech wizard to make a stunning website. With the right steps and a bit of enthusiasm, you’ll be ready to launch in no time. Here’s your go-to guide to creating a website that stands out on the internet.
Find Your Purpose: Why Do You Need a Website?

Before anything else, ask yourself what you want your website to achieve. This will be the foundation of everything you do next. Are you trying to promote a business? Start a blog? Sell products? Or are you a creative professional who needs a place to showcase a portfolio? The purpose of your website will influence its design, the platform you choose, and even the content you’ll create.
A business website might focus on clear branding, contact information, and customer service. Blogs need easy navigation and ways to keep readers engaged with posts. A portfolio benefits from high-quality visuals, while an online store requires a smooth shopping experience. Defining this purpose is key—it’s your roadmap to creating something meaningful and effective.
Step 2: Choosing the Right Domain Name

Your domain name is the unique address where people will find you online, like www.yourbrand.com. Think of it as the first impression you make, so it should be memorable, simple, and reflective of what you do. Choosing a domain name might feel daunting, but keep it straightforward and short. Avoid complex words or hard-to-spell terms, as these can make it harder for visitors to find you again.
Once you’ve decided on a name, you’ll need to register it. Websites like Sonhosting, Namecheap, GoDaddy, or your web hosting provider make it easy to purchase a domain. And don’t worry—this step is affordable and straightforward, with most domain names costing only a few dollars a year.
Step 3: Pick a Website Builder or Platform

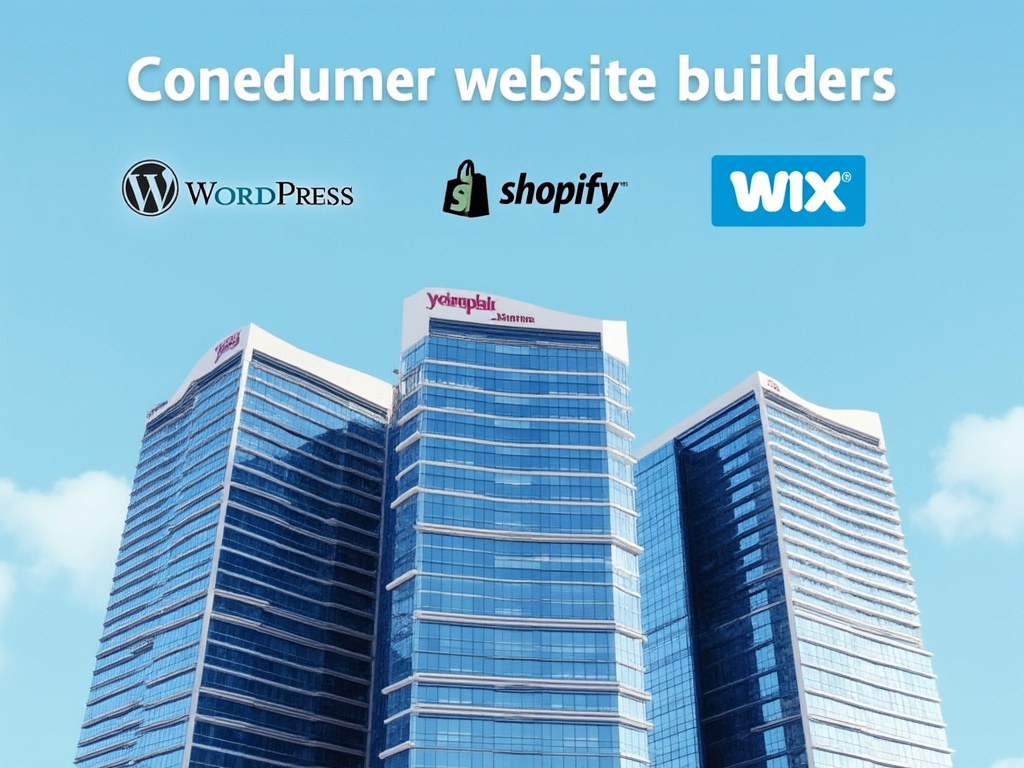
Now it’s time to get your hands on the tools you’ll use to build your site. Choosing a website builder can simplify the entire process since these platforms offer pre-designed layouts, drag-and-drop editors, and even some coding flexibility for those who want it. Here are some of the most popular options to consider:
- Wix: If you’re new to website building, Wix is incredibly user-friendly. It offers a large selection of templates and customizable elements.
- WordPress: A powerhouse for bloggers and small businesses, WordPress offers more control and flexibility. While it requires some learning, it’s highly customizable.
- Squarespace: Known for its sleek, visually appealing designs, Squarespace is ideal for portfolios, creative sites, and small businesses.
- Shopify: If your website will be a full-fledged online store, Shopify offers extensive e-commerce tools to manage products, payments, and shipping.
Each of these platforms has its strengths. Most of them are free to use and some offer free trials, so you can test the waters before committing to one.
Step 4: Set Up Web Hosting
Think of web hosting as the space you rent on the internet where your website lives. If you’ve chosen Wix, Squarespace, or Shopify, hosting is included, making things easy. But if you’re going with WordPress or another independent platform, you’ll need to select a hosting provider. Sonhosting, Namecheap, and SiteGround are all popular choices known for their affordability, speed, and support.
Many hosting services even offer “one-click” WordPress installation, making it easy to get set up without any technical hassle.
Step 5: Selecting a Theme or Template

A theme or template is the basic design structure of your website. Imagine it as the bones of your website that you can shape and customize. Nearly every website builder or platform comes with templates to get you started. Choose a theme that reflects the personality of your website and fits the purpose you defined earlier.
If your website is for a business, opt for something professional and clean. A blog might use a more minimalist design, letting readers focus on the content. Meanwhile, an online store template will include features like product pages and shopping carts. Choose one that speaks to your style—most themes allow you to change colors, fonts, and layouts to make it feel unique.
Step 6: Customize to Make It Your Own
With your theme in place, it’s time to add your own touch. Customizing a website is where your personality shines, and most platforms make this easy with drag-and-drop editors. Here are some key elements to consider when customizing:
- Add Your Logo: If you have a logo, make sure it’s prominently displayed. A recognizable logo boosts your brand.
- Choose Fonts and Colors: Colors and fonts help create a consistent feel. Try sticking with two or three colors and a couple of fonts for a polished look.
- Organize Pages: Start with the basics, like a homepage, about page, services, and contact page. Think of it as building a simple road map for visitors.
- Create Content: Your content explains who you are, what you do, and why visitors should care. Keep it clear, friendly, and authentic.
Your customization reflects your unique brand, so take the time to get it right!
Step 7: Add Essential Features
Every website needs some essential features to make it easy for visitors to navigate and connect with you. Key features include:
- Contact Form: An easy way for visitors to get in touch, especially important for businesses and services.
- Social Media Links: Link to your social media profiles, allowing visitors to follow and engage with you on other platforms.
- Mobile Optimization: Make sure your site looks and works well on mobile devices. Most visitors today browse from their phones, so a mobile-friendly site is a must.
Your website builder should make it simple to add these features, ensuring visitors have a smooth experience.
Step 8: Test Before You Launch
Before unveiling your site to the world, make sure everything works as it should. Check each page to ensure links work and the layout looks good on both mobile and desktop devices. Test the loading speed using tools like Google PageSpeed Insights or GTmetrix. A slow site can frustrate visitors, so aim for a site that loads quickly.
Going through these checks can make a big difference in your site’s performance and visitor satisfaction.
Step 9: Hit Publish and Promote

Once everything looks perfect, it’s time to hit that “Publish” button. Congratulations, your website is live! But don’t stop there—promote it. Share your website link on social media, add it to your email signature, and tell friends and family about it. The more you share, the more visitors you’ll attract.
Promoting your website is key to building traffic and reaching a wider audience. You’ve put in the hard work to make it awesome, so get it out there!
Step 10: Keep Updating and Improving
Building a website is an ongoing process, and a great website is never truly “finished.” To keep it engaging, regularly update content and improve features based on visitor feedback. Add new blog posts, update product listings, or showcase new projects. Tracking your site’s performance with Google Analytics can also help you understand what’s working and where you might need to make adjustments.
Remember, as your business or brand grows, so can your website. Embrace changes, keep things fresh, and your site will grow with you.
The Bottom Line
Creating a website may seem intimidating at first, but by following these steps, you’ll be well on your way to building something you’re proud of. No matter your level of expertise, this guide takes you from idea to launch with ease. So grab that domain, pick your platform, and start building—your website dreams are just a few steps away!
