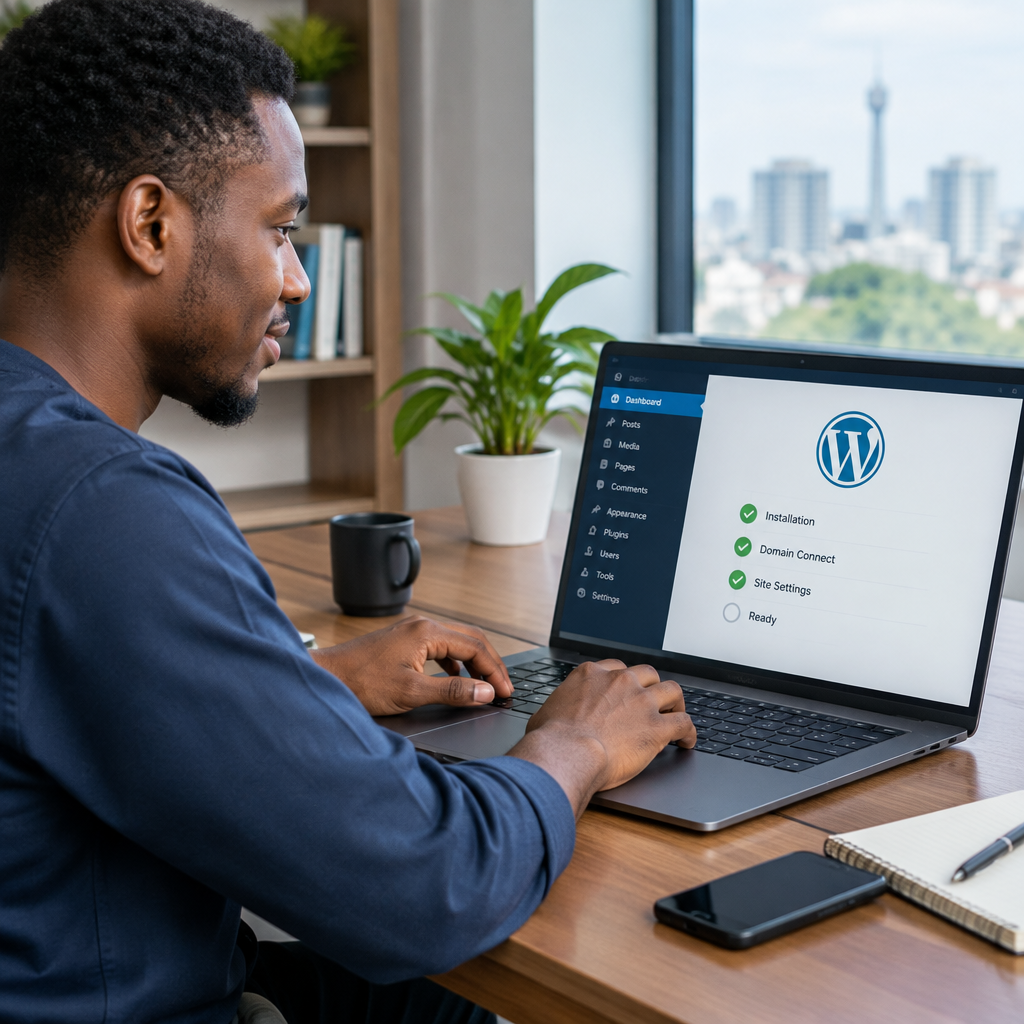
How to Set Up WordPress on Your Hosting Account
Setting up WordPress can feel complicated when you are faced with hosting panels, domain settings, databases and security options. In practice, most small business websites can be launched through a straightforward process if the hosting account and domain are prepared correctly.
This guide explains how to install WordPress, connect it to your domain and complete the important first settings. It is suitable for Nigerian businesses, entrepreneurs, creators and organisations building a professional online presence without wanting to manage server technology themselves.
Before you install WordPress
WordPress needs a hosting account, a domain name and a suitable environment in which to run. Hosting provides the server space and resources for your website. Your domain is the address people type into their browser, such as yourbusiness.com. They are related, but they are not the same service.
Before beginning, confirm that:
- You can sign in to your hosting control panel.
- You have access to the account where your domain is registered.
- Your domain is correctly spelled and registered in the business or owner’s name.
- Your hosting plan supports WordPress.
- You know which email address should receive website and hosting notifications.
Keep control of these accounts. A business should not depend entirely on a former employee, developer or unknown third party to access its domain, hosting or website.
Step 1: Point your domain to your hosting account
If your domain and hosting were purchased from the same provider, they may already be connected. If they were purchased separately, you normally need to update the domain’s DNS or nameserver settings.
Your hosting provider will give you the correct nameservers or DNS records. Sign in to the domain registrar, locate the domain management area and replace the existing nameservers with the ones supplied by your host. Save the change and allow time for the connection to take effect.
DNS changes do not always appear everywhere immediately. During this period, the domain may sometimes show an old website, a temporary page or an error. This does not necessarily mean the WordPress installation has failed.
Do not change DNS records without knowing what they control. A domain may also use records for business email, verification services or other systems. If you are unsure, ask your hosting provider for guidance before removing existing records.
Step 2: Open the hosting control panel
After your domain is connected, sign in to your hosting account and open its control panel. Depending on the provider, the panel may include a WordPress installer, website management tool or application installer.
Look for an option labelled something like:
- WordPress
- Install WordPress
- Application installer
- Website installer
Many hosting accounts offer a guided installation. This avoids the need to create a database and upload WordPress files manually. If your account does not include an installer, WordPress can still be installed manually, but the process requires more technical steps and is often better handled with support.
Step 3: Choose the installation details
The installer will usually ask for several details. Enter them carefully because they determine how your website is accessed and managed.
Choose the domain
Select the domain where you want WordPress installed. If your hosting account contains more than one domain, make sure you choose the correct one.
Leave the directory empty for the main website
If you want visitors to reach your website at yourbusiness.com, the installation directory should normally be left blank. Entering a folder such as wordpress may place the site at yourbusiness.com/wordpress instead.
A separate directory can be useful for a planned sub-site, test installation or online store, but it should not be selected accidentally.
Create an administrator account
Choose a unique administrator username and a strong password. Avoid simple usernames such as “admin” where the installer allows another option. Use a password that is long, difficult to guess and not reused for email, banking or other services.
Store the login details in a secure password manager or another protected location. Do not send them casually through public messages or leave them in an unprotected document.
Set the site name and administrator email
Enter your business or organisation name and a monitored email address. WordPress and some plugins may use this address for notifications, password recovery and administrative alerts.
The site title can be changed later, so it does not need to be perfect on the first attempt. However, use a clear name that matches your brand and domain.
Step 4: Complete the installation
Review the settings and start the installation. The process may take only a few moments. When it finishes, the installer should display:
- Your website address.
- Your WordPress login address, usually ending in /wp-admin.
- The administrator username.
Open the website address in a new browser tab. Then visit the login address and sign in. If the site does not load immediately, check that the domain points to the correct hosting account and that DNS changes have had enough time to update.
Step 5: Configure the essential WordPress settings
A new WordPress installation needs a few practical adjustments before you begin publishing.
Check the site address
In the general settings, confirm that both the WordPress address and site address use the correct domain. If your SSL certificate is active, use the secure https:// version of the address.
Set the correct time zone
Choose the time zone that matches your business and audience. This helps scheduled posts, updates and administrative timestamps appear at the expected time. For a Nigerian business, select the appropriate Nigeria time-zone setting available in WordPress.
Update the site title and tagline
Use a concise description of what the business does. This information may appear in the browser title, search previews or parts of your theme, although search engines control how results are ultimately displayed.
Review the permalink structure
Permalinks determine the format of your page and post addresses. A readable structure is easier for people to understand and share. Avoid changing permalink settings repeatedly after publishing content, because changes can create broken links unless redirects are managed.
Remove sample content
Delete demonstration posts, pages and comments that came with the installation. Replace them with accurate business information rather than leaving placeholder content visible to visitors.
Step 6: Add the foundations of a trustworthy website
Before focusing on colours and design, create the pages visitors commonly need:
- Home
- About
- Services or products
- Contact
- Privacy information where appropriate
Make your contact details accurate and easy to find. If customers use WhatsApp, telephone, email or a contact form, provide clear instructions. Mobile-friendly pages are especially important because many visitors in Nigeria and across West Africa browse on phones.
If you use business email, connect it to your domain and test sending and receiving messages. A domain-based email address can present a more consistent and professional identity than relying only on a personal free email address.
Step 7: Secure and maintain the installation
WordPress is software, so it requires ongoing maintenance. Immediately after installation:
- Update WordPress, themes and plugins from trusted sources.
- Remove themes and plugins you do not need.
- Use separate user accounts instead of sharing one administrator login.
- Enable HTTPS with an SSL certificate.
- Set up reliable backups and understand where they are stored.
- Review login and security notifications.
Backups are useful only if they can be restored. Confirm that your hosting arrangement or backup solution provides a practical way to recover the website if an update, mistake or security incident causes a problem.
Do not install dozens of plugins simply because they are available. Each additional plugin can add maintenance, compatibility and security considerations. Select tools that solve a genuine requirement and keep them updated.
A simple launch check
Before sharing your new website, test it as a visitor would:
- Open the domain on a phone and computer.
- Check that the secure version loads without warnings.
- Test the contact form and business email.
- Open the main navigation and important links.
- Check that images load and text is readable on a small screen.
- Confirm that the business name, services and contact details are accurate.
- Ask someone unfamiliar with the site to try finding key information.
If your hosting account includes managed WordPress support, use it when a task involves DNS, SSL, backups, migration or an error you cannot confidently diagnose. Practical support can prevent a small configuration issue from becoming a longer interruption.
The key takeaway
Installing WordPress is only the beginning. A reliable website depends on correct domain settings, secure administrator access, accurate business information, mobile-friendly content, backups and regular updates. Set up the technical foundation carefully, keep ownership of your essential accounts and choose hosting support that lets you concentrate on serving customers rather than managing unnecessary complexity.