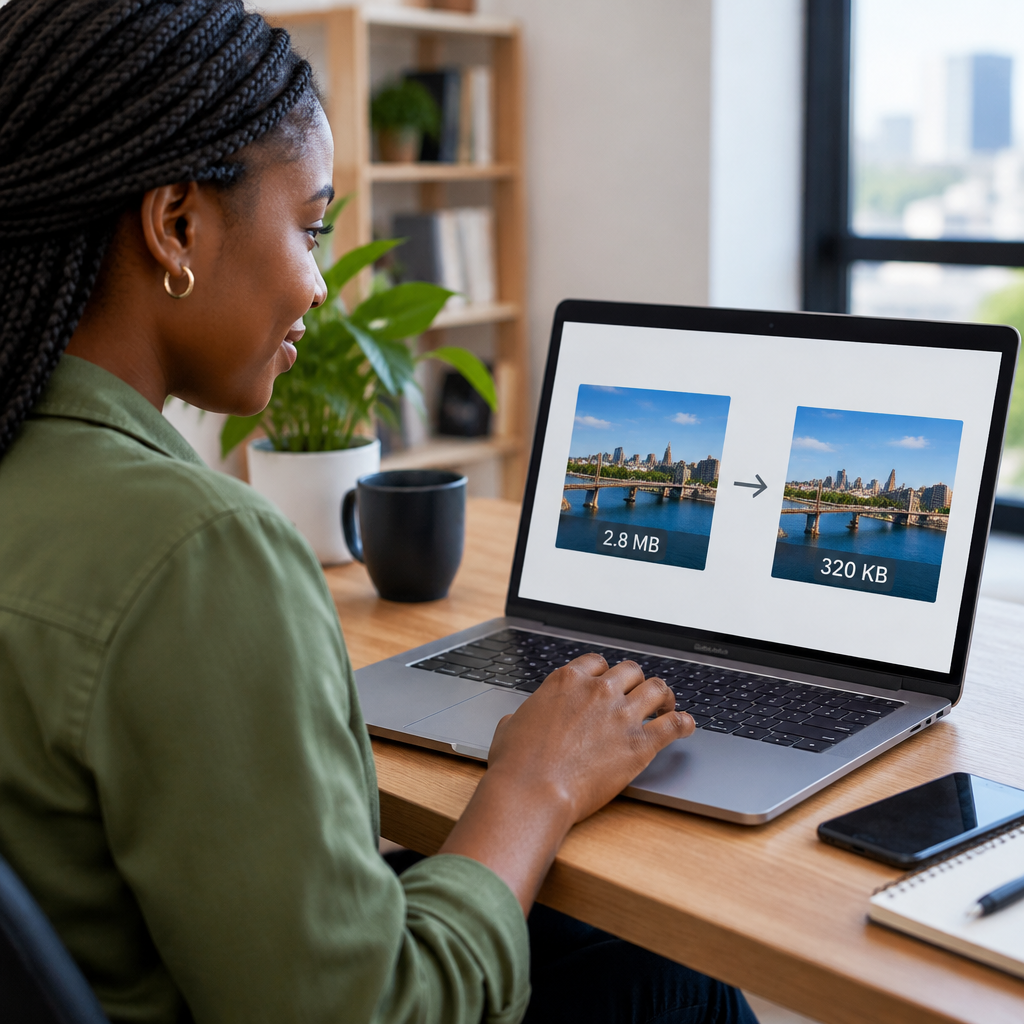
How to Reduce Image Sizes Without Losing Quality
Large image files can make a website feel slow, especially for visitors using mobile networks or limited data. They can also consume hosting storage and make website management more difficult. The challenge is to reduce file sizes without making images look blurry, pixelated or noticeably damaged.
The good news is that image optimisation does not usually require advanced technical knowledge. With the right dimensions, file format and compression settings, you can often make an image much smaller while keeping it clear enough for websites, online shops, portfolios and business pages.
Why image size matters
An image has two different types of size:
- Dimensions: the width and height measured in pixels, such as 2,000 × 1,333 pixels.
- File size: the amount of storage the image uses, such as 350 KB or 3 MB.
These are related, but they are not the same. A photograph with very large dimensions will often have a larger file size, but an image can also be made smaller through compression without changing its dimensions.
For a business website, oversized images may delay page loading, increase data usage and create a poorer experience for customers. This matters particularly in Nigeria and West Africa, where many visitors may be browsing on mobile devices or variable connections. A slow page can cause someone to leave before reading your services, viewing your products or submitting an enquiry.
Start with the correct dimensions
One of the most effective ways to reduce an image is to resize it to the largest dimensions the website actually needs. Uploading a camera photograph that is 6,000 pixels wide when the website displays it at 1,200 pixels wide creates unnecessary work for the browser and the visitor’s connection.
Before resizing, consider where the image will appear:
- A full-width banner may need a wider image than a small blog thumbnail.
- A staff profile image usually needs much smaller dimensions than a homepage background.
- A product image should be large enough for visitors to inspect, but not larger than the website layout requires.
- A logo should be exported at an appropriate size and, where suitable, kept as a vector file such as SVG.
Use the actual display area as a guide. If an image is shown at approximately 800 pixels wide, exporting it at 4,000 pixels wide is usually unnecessary. Keep a high-resolution original separately if you may need it for printing or future editing, and use a resized copy for the website.
Choose the right image format
The format affects both quality and file size. There is no single best format for every image.
JPEG or JPG
JPEG is commonly suitable for photographs, banners and images with many colours or gradual changes in tone. It uses lossy compression, which means some image information is removed to make the file smaller. At a sensible quality setting, the visual difference may be difficult to notice.
PNG
PNG is useful when an image needs transparency, sharp text, simple graphics or clean edges. However, PNG files can be considerably larger than JPEG files when used for photographs. A photographic image saved as PNG may therefore use more storage than necessary.
WebP
WebP is a modern web image format that can provide smaller files while maintaining good visual quality. It can support photographs, transparency and different compression approaches. It is widely supported by modern browsers, although it is still sensible to keep original files and confirm that your website tools handle the format correctly.
AVIF
AVIF can provide strong compression and image quality, but compatibility and editing workflows may vary more than with older formats. It can be useful when your website platform and optimisation tools support it reliably.
A practical rule is simple: use JPEG or WebP for most photographs, PNG or a suitable modern format for graphics that need transparency, and SVG for appropriate logos or icons. Avoid changing formats repeatedly, because each lossy export can reduce quality.
Compress carefully rather than choosing the smallest file
Compression removes unnecessary data from an image. Lossless compression reduces the file without changing the image information, while lossy compression produces a smaller file by discarding some detail.
Lossy compression is often appropriate for website photographs. The aim is not to achieve the smallest possible file; it is to find a useful balance between appearance and performance. If compression is too aggressive, you may see blocky areas, blurred edges, colour banding or visible detail loss.
When exporting or compressing an image, inspect the result at the size visitors will see it. Do not judge only by zooming in to 400 percent. A small amount of detail loss may be acceptable in a thumbnail, while the same loss could be distracting in a large product image or professional portrait.
A practical image optimisation workflow
Use this process whenever you prepare an image for a website:
- Keep the original. Save the unedited photograph or design separately so you can make a better version later.
- Crop unnecessary areas. Removing empty space can improve the composition and reduce dimensions.
- Resize the copy. Set its dimensions based on the largest place where it will be displayed.
- Select a suitable format. Use the image type that matches the content, such as JPEG or WebP for photographs.
- Compress it. Begin with a moderate quality setting and compare the result with the original.
- Rename the file clearly. A name such as lagos-accounting-team.webp is easier to manage than IMG_4821.jpg.
- Upload and check the page. View the image on both a phone and a larger screen to confirm that it remains sharp and correctly cropped.
This workflow is useful whether you edit images on a computer, use an online compression tool or rely on image optimisation features in a content management system. If a WordPress website has many existing images, optimisation can be handled in batches, but review settings carefully before applying changes across the entire media library.
Do not forget mobile images
A desktop visitor may see a large hero image, while a mobile visitor may see a much smaller version. Sending the same oversized file to every device can waste data and slow down the page.
Responsive image features allow a website to offer different image sizes depending on the available display area. A well-managed WordPress website can use these features alongside correctly sized uploads. However, responsive behaviour cannot fully fix an image that was uploaded at an unnecessarily large size, so preparing sensible source files still matters.
Common mistakes that reduce quality or performance
- Resizing by stretching: increasing a small image does not restore detail and usually makes it blurry.
- Using screenshots: screenshots may contain unnecessary dimensions and interface elements. Use the original file where possible.
- Saving every photograph as PNG: this can create large files without improving photographic quality.
- Compressing an already compressed copy repeatedly: edit from the original and export a fresh web copy.
- Uploading images straight from a camera or phone: these files may be much larger than the page needs.
- Ignoring the content management system: some platforms create thumbnails automatically, while others may need additional configuration or optimisation.
How to balance quality and loading speed
Quality should be judged by purpose. A detailed image in a portfolio may deserve a larger file than a small decorative image. A product photograph should show important features clearly, while a background image may tolerate more compression because it is not the main content.
Compare two or three versions before deciding. Look at faces, text, fine lines, product edges and areas with shadows. If the compressed version looks the same at its intended display size, there is little benefit in keeping the larger file.
Also consider the rest of the website. Image optimisation helps, but it cannot compensate for an unsuitable hosting plan, an overloaded website or poorly maintained WordPress installation. Reliable hosting, current software, sensible caching and properly prepared media work together to create a better visitor experience.
A simple decision guide
| Image type | Useful starting point | What to watch for |
|---|---|---|
| Photograph | JPEG or WebP | Blurred detail and visible compression blocks |
| Logo with transparency | SVG or PNG | Jagged edges and missing transparent areas |
| Product image | JPEG or WebP at the display dimensions | Whether customers can inspect important details |
| Small icon or graphic | SVG or PNG | Sharpness at different screen sizes |
The key takeaway
Reducing image size without losing quality is mainly a matter of preparation: crop what is unnecessary, resize to realistic dimensions, select the right format and compress until the visual difference is no longer meaningful. Keep original files separate, test images on mobile devices and review your website’s image workflow as it grows.
For Nigerian businesses and organisations, these small improvements can make a website more practical for mobile visitors, reduce unnecessary hosting storage and help customers reach important content more quickly. The best image is not the largest or the smallest one; it is the smallest file that still does its job clearly.